
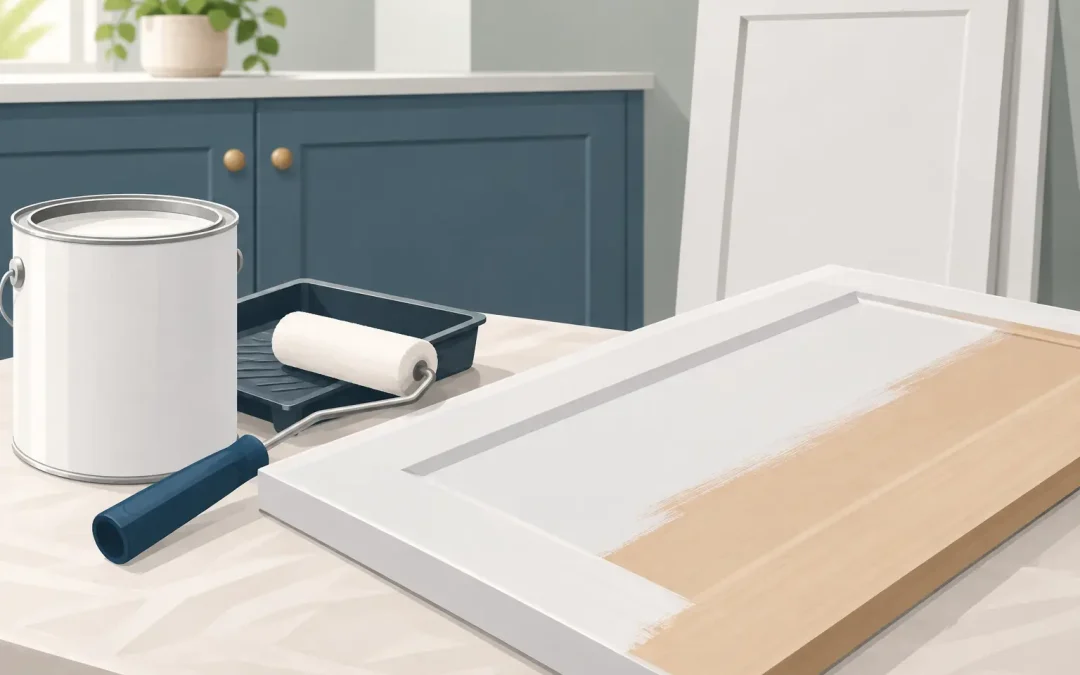
A freshly painted cabinet can look beautiful on day one and still fail far too soon if the coating underneath was not prepared correctly. Cabinet primer is the layer that helps a new finish grip slick, previously painted, stained, or high-use cabinet surfaces. It is not the most visible part of a cabinet refinishing project, but it is one of the biggest reasons a finish stays smooth, resists chipping, and continues to look polished in the heart of your home.
For Charlotte homeowners updating a dark kitchen, worn bathroom vanity, or mismatched cabinet layout, primer is where durable results begin. Skipping it may save a little time at the start, but it can lead to peeling near handles, stains bleeding through white paint, and finish problems that are expensive to correct later.
What Cabinet Primer Actually Does
Cabinet doors are not like a newly installed drywall wall. They are often coated with factory finishes, old paint, clear polyurethane, oils from cooking, cleaning residue, and years of fingerprints around the most-used areas. Even after sanding, those surfaces need the right foundation before color is applied.
A quality cabinet primer serves several jobs at once. First, it creates adhesion between the cabinet surface and the topcoat. Second, it helps seal porous areas, including exposed wood at edges, minor repairs, and sections where the existing finish has worn thin. Third, certain primers block stains from wood tannins, smoke residue, grease, and old discoloration that could otherwise show through a lighter color.
This matters most when homeowners move from dark wood cabinets to clean whites, soft grays, warm greiges, or light two-tone designs. A pale finish can make a kitchen feel larger and brighter, but it also reveals any stain bleed or uneven coverage underneath. The right primer gives the finish a more consistent base so the final color looks intentional, not patchy.
Why Cleaning and Sanding Come Before Cabinet Primer
Primer cannot compensate for a dirty or poorly prepared surface. This is where a professional cabinet refinishing process differs from a quick paint job.
Kitchen cabinets collect airborne grease, cooking oils, hand lotion, and residue from household cleaners. Bathroom cabinets can have hairspray, moisture exposure, soap residue, and cosmetic spills. If those contaminants remain on the surface, primer may bond to the residue instead of to the cabinet itself. The problem may not appear immediately, but repeated use can cause the coating to release around knobs, pulls, drawer fronts, and cabinet edges.
Careful cleaning comes first. After that, sanding dulls the existing sheen and gives the coating system a better surface to grip. The goal is not to aggressively strip every cabinet to bare wood unless the condition calls for it. It is to create a clean, even profile while preserving the cabinet structure and addressing dents, chips, or previous finish failures.
Once repairs are made and dust is removed, primer can do its job. This sequence is not a shortcut-heavy process: clean, sand, repair, prime, then apply the finish. Each stage supports the next.
Not Every Cabinet Primer Is the Same
The best cabinet primer depends on what is already on your cabinets and what you want the finished project to achieve. A professional evaluates the surface rather than treating every kitchen the same way.
Stain-blocking primers for wood cabinets
Wood species such as oak, cherry, and maple can contain tannins that migrate through paint, especially beneath white or cream colors. This can create yellowish, pinkish, or brown shadows that seem to appear from nowhere. A stain-blocking primer is designed to seal those materials and reduce the risk of bleed-through.
Oak presents another consideration. Its open grain may remain visible even with excellent painting. Some homeowners appreciate that subtle texture, while others want a smoother, more furniture-like appearance. Achieving a smoother result can require additional grain filling and sanding steps before primer and finish coats are applied.
Bonding primers for slick factory finishes
Many modern cabinets have a smooth factory-applied coating, laminate-like surface, thermofoil, or previously painted finish. These surfaces can be challenging because they do not naturally absorb paint. A high-adhesion bonding primer helps create the connection between that slick surface and the new coating.
There are limits, however. Cabinets with widespread peeling thermofoil, water-swollen particleboard, failing veneer, or structural damage may need repair or replacement rather than refinishing. An honest contractor should explain that before promising a result that the materials cannot support.
Primers for previously painted cabinets
Previously painted cabinets require close inspection. If the old paint is sound and well bonded, the surface may be cleaned, sanded, spot-repaired, and primed for a fresh coating system. If it is peeling or reacting to cleaners and moisture, loose material must be removed and the underlying issue addressed first.
Painting over failure only hides it temporarily. Proper preparation takes more time, but it protects the value of the entire refinishing project.
Primer Helps Create a Furniture-Grade Finish
Homeowners often ask why professionally refinished cabinets look different from cabinets painted with a brush or roller over a weekend. Product quality is part of the answer, but application and preparation are just as significant.
Primer helps level out small variations in the substrate so the topcoat can lay down more evenly. After the primer is properly cured and sanded as needed, fine-spray application creates a smoother appearance with fewer brush marks and roller texture. HVLP fine-spray equipment is especially useful for cabinet doors and drawer fronts because it applies controlled, even coats suited to detailed millwork and flat panel surfaces.
That does not mean every cabinet will look identical to a brand-new factory door. Existing wood grain, door profile, prior repairs, and cabinet age all affect the final appearance. What careful refinishing can provide is a clean, consistent, durable finish that makes existing cabinetry feel current without the demolition, construction mess, and cost of a full replacement.
Common Primer Mistakes That Shorten Cabinet Life
Most cabinet coating failures can be traced back to preparation, product selection, or curing time. Homeowners considering a do-it-yourself project should be especially cautious of four common mistakes:
- Painting over grease, polish, or silicone-based residue that prevents proper adhesion.
- Using a general wall primer instead of a primer designed for cabinetry and difficult surfaces.
- Applying coats too heavily, which can lead to drips, poor leveling, and extended dry times.
- Reinstalling doors or returning cabinets to heavy use before the coating system has fully cured.
Dry to the touch is not the same as cured. Cabinet doors are opened, closed, bumped, wiped, and exposed to humidity every day. A quality coating system needs the correct time and conditions to harden before it can handle normal household use.
When Professional Cabinet Priming Is Worth It
A homeowner can successfully paint some cabinetry, particularly a small vanity in good condition. But larger kitchens, detailed door styles, dark-to-light color changes, stained wood, and heavily used family spaces demand more planning. The cost of fixing poor adhesion, stain bleed, or an uneven finish can quickly outweigh the savings of doing it once without the right process.
Professional refinishing also reduces disruption. Rather than removing cabinets, replacing countertops, coordinating multiple trades, and living through a demolition project, homeowners can refresh the cabinets they already have. In many cases, refinishing can save up to 75% compared with replacement while delivering a dramatic visual change.
At Icarus Pro Painters, cabinet refinishing is approached as a complete coating system, not simply a new color applied over old surfaces. That means evaluating the cabinets, preparing every surface carefully, choosing materials suited to the project, and applying durable furniture-grade finishes with attention to the details homeowners will see and touch every day.
A Better Starting Point for Your Cabinet Update
If your cabinets are structurally sound but their color, sheen, or wear no longer fits your home, primer is a practical reason to consider refinishing instead of replacement. It gives a carefully selected finish the foundation it needs to hold up where family life happens most: around the coffee maker, beside the dishwasher, at the bathroom sink, and on the drawer that everyone reaches for first.
The best next step is to have the cabinet material and current finish assessed before choosing a color. A clear plan for cleaning, repairs, cabinet primer, finish coats, and cure time will give you far more confidence than a paint color sample alone.
Recent Comments